

It pays to invest in a good CPU cooler, but rolling out the red carpet for your chip need not cost the earth. After five long years, be quiet! has revitalised its budget-driven Pure Rock series, giving you no less than five options to choose from.
The most interesting of the bunch has to be Pure Rock Pro 3, be quiet!’s first dual tower air cooler designed for entry-level systems. Going head-to-head with Arctic at $44.90 MSRP, it borrows many elements from the more premium Dark Rock series but at less than half the price.
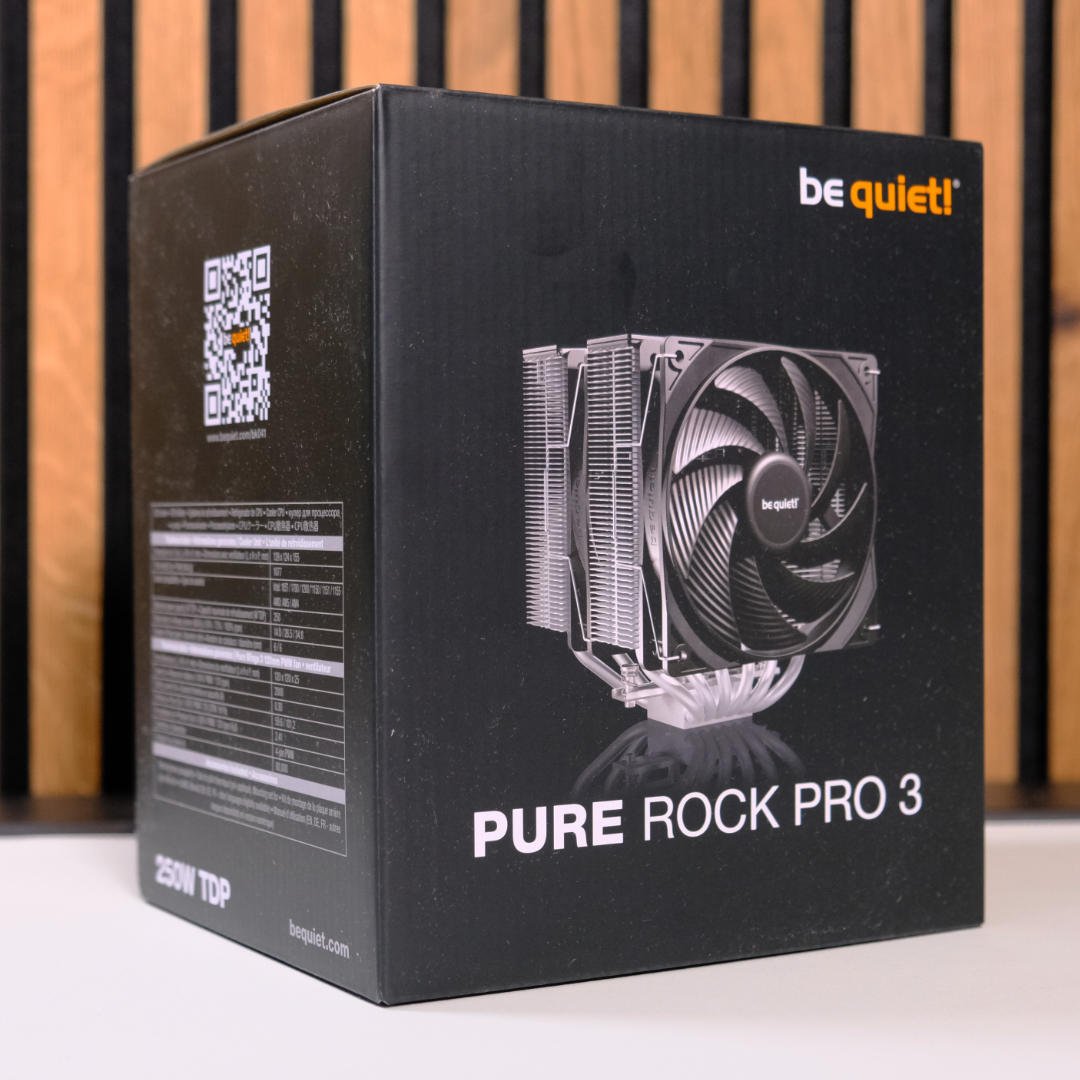

be quiet! Pure Rock Pro 3
$44.90
Pros
- Fantastic value
- Supremely silent
- Stealthy with RGB option
- Simple installation
- 3-year warranty
Cons
- Struggles with Core i9
- No spare thermal paste
- No Y splitter included
Club386 may earn an affiliate commission when you purchase products through links on our site.
How we test and review products.
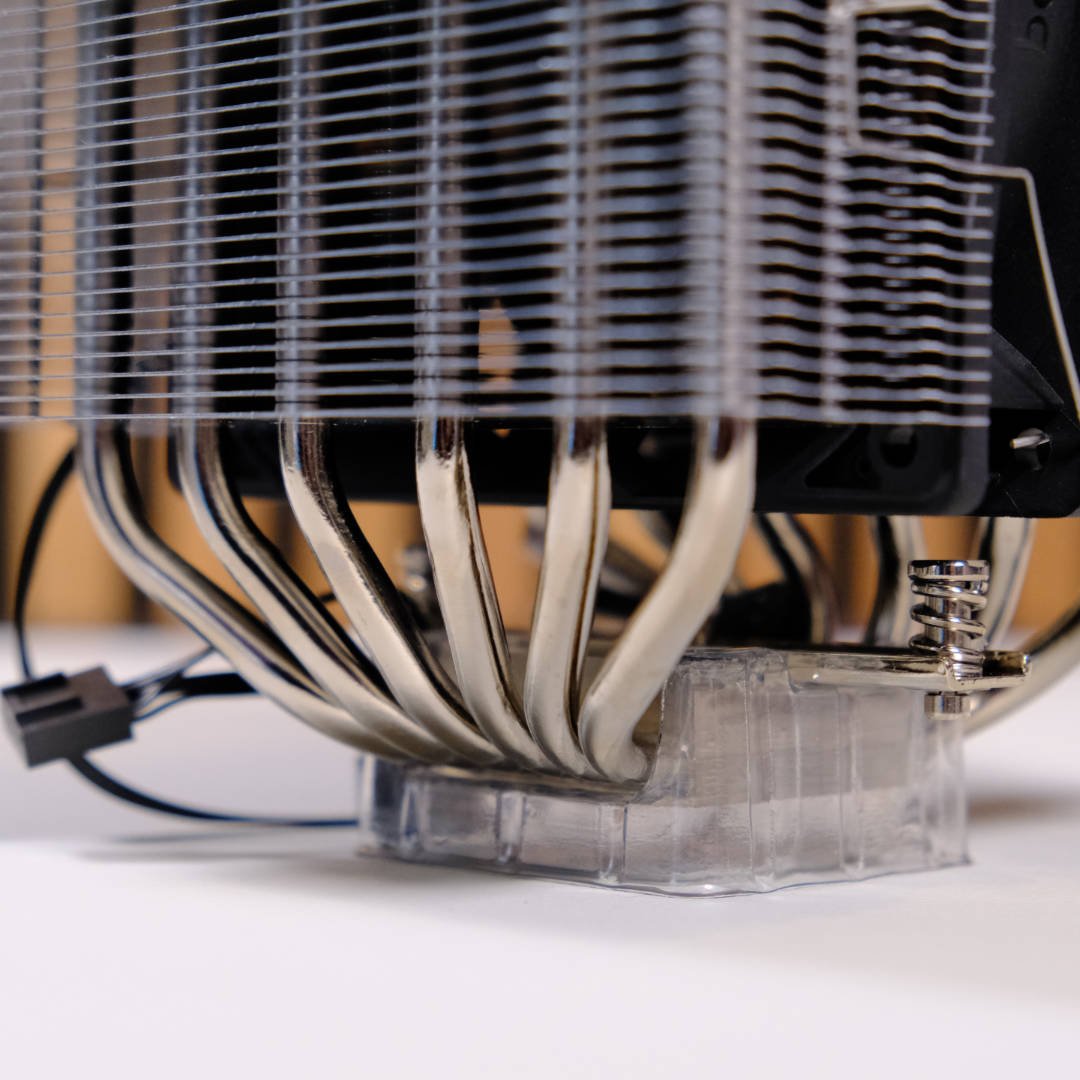
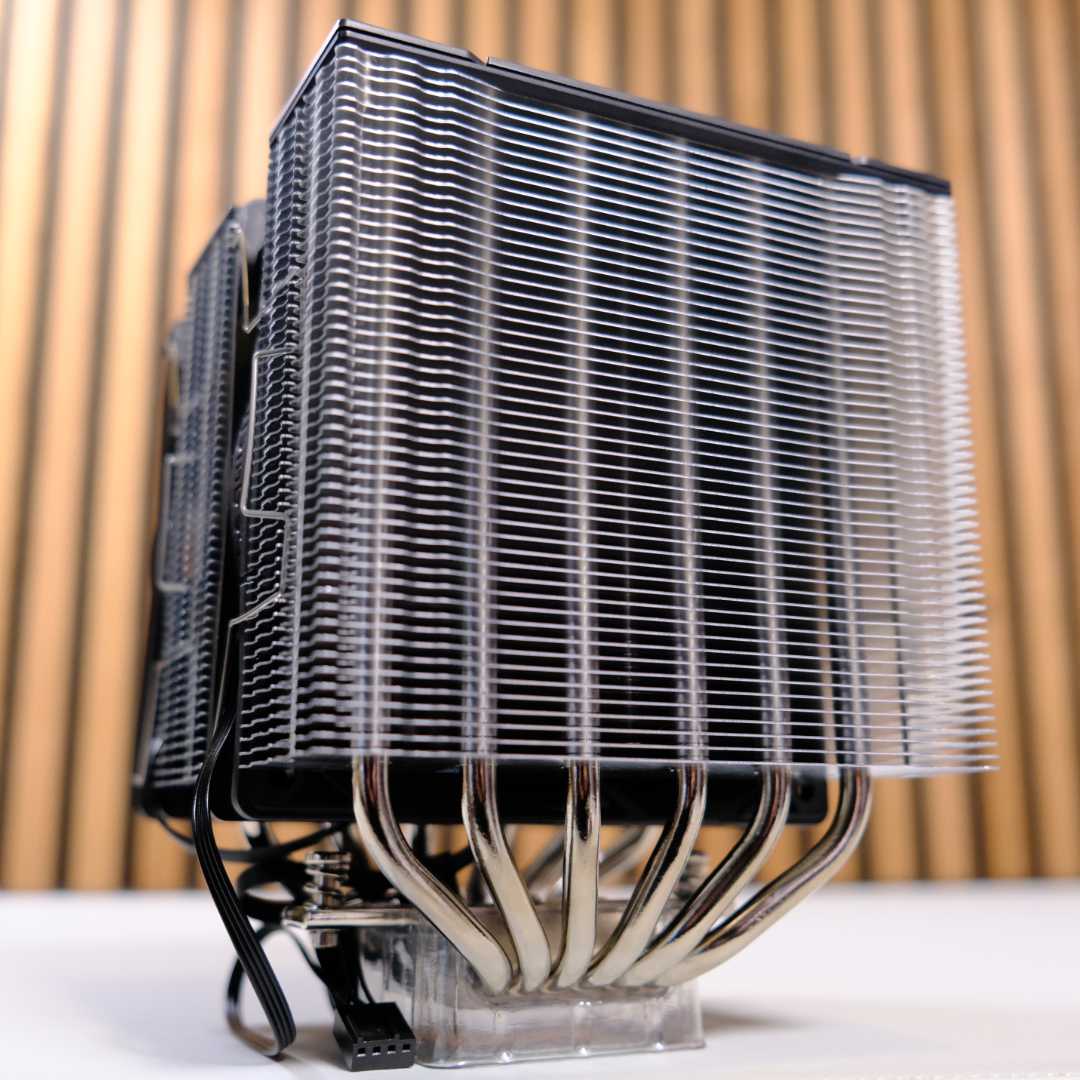
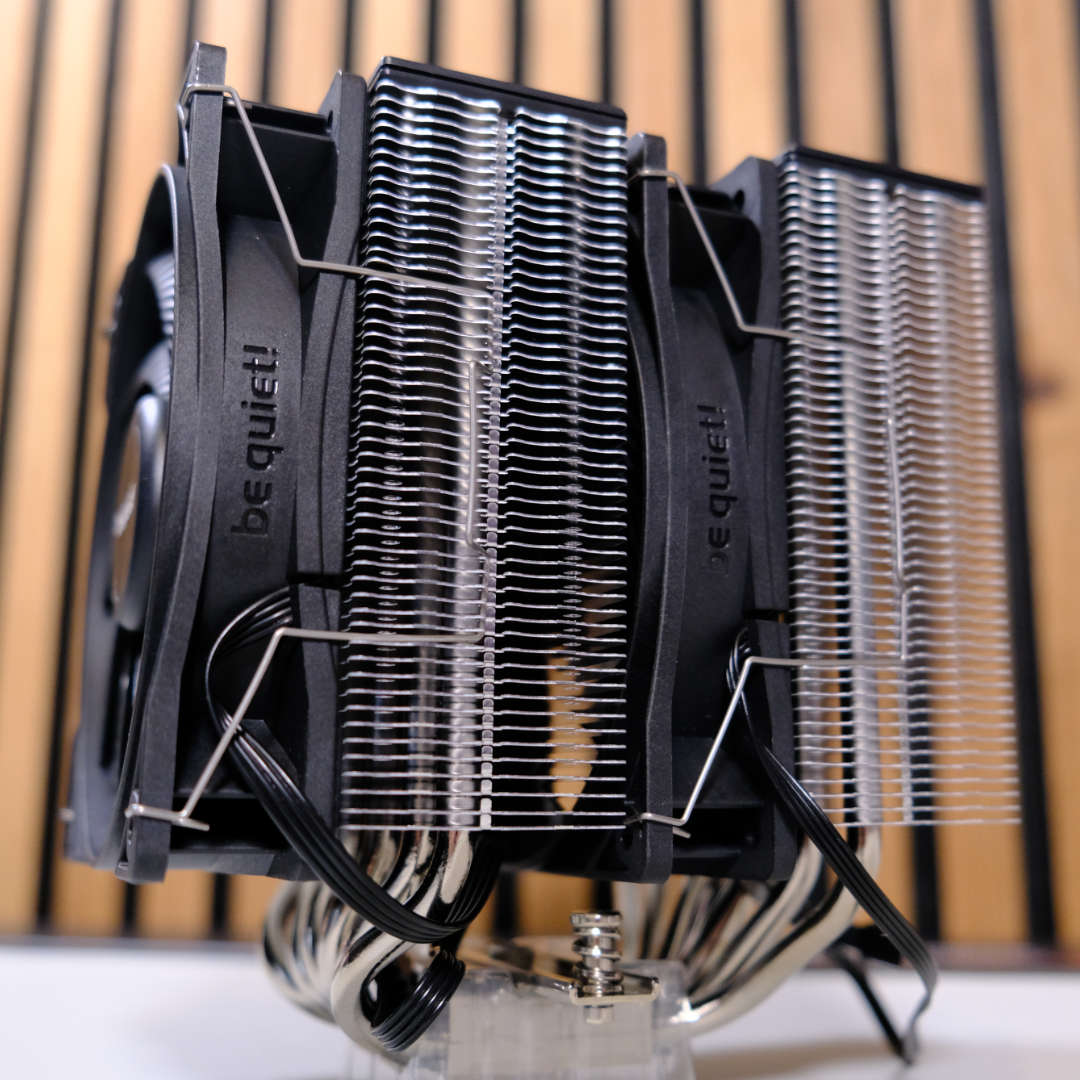
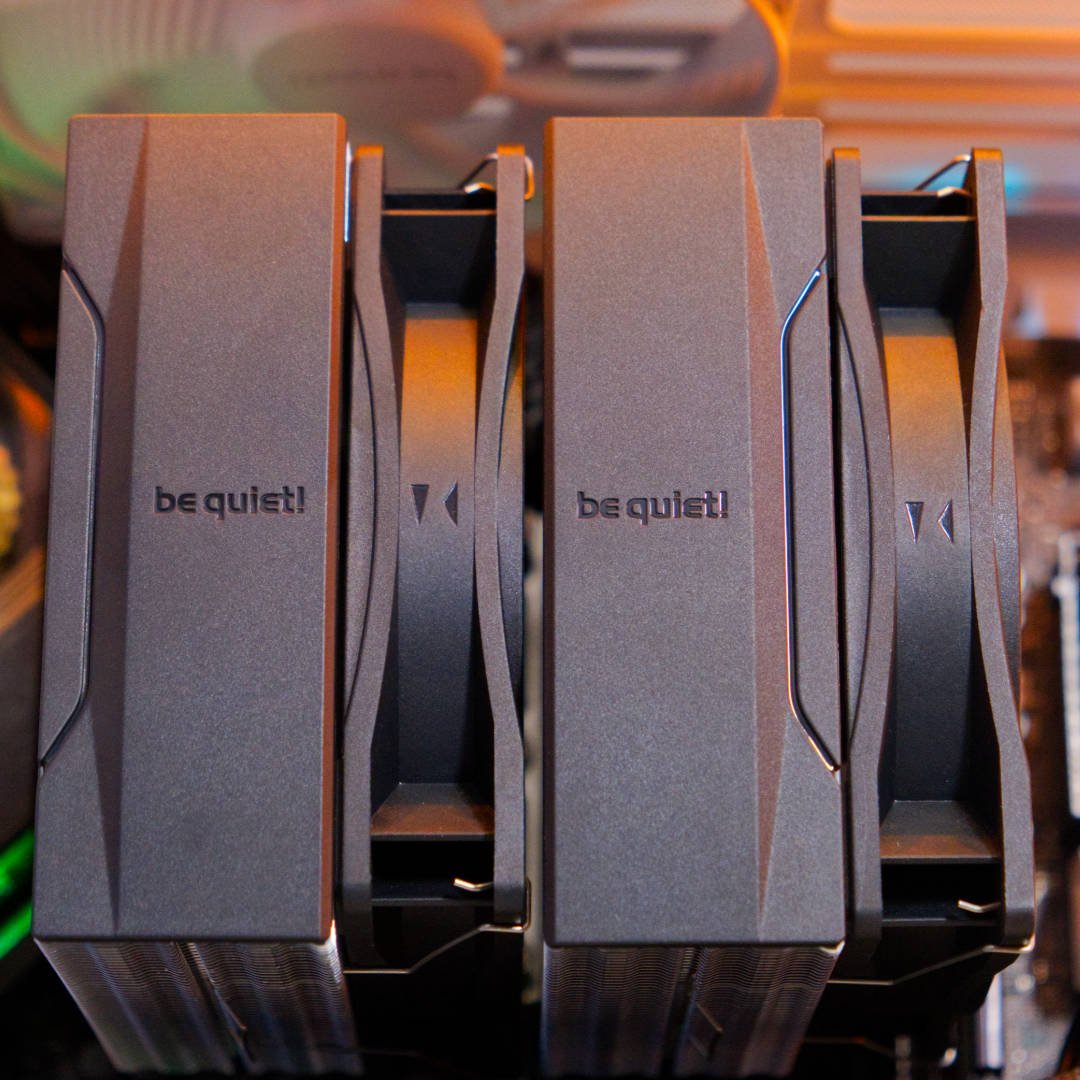
Despite the shift to dual tower, be quiet! stays true to its minimalist approach. We’re testing the two-tone model with its six high-performance heat pipes and 50 fins dressed in silver, but these also come in jet black for a stealthy aesthetic. Only when you get to the top-tier LX variant does the brand introduce shiny new RGB fans.
| MSRP | |
|---|---|
| be quiet! Pure Rock 3 | €24.90 |
| be quiet! Pure Rock 3 Black | $29.90 / €29.90 |
| be quiet! Pure Rock 3 LX | $34.90 / €34.90 |
| be quiet! Pure Rock Pro 3 Silver | $44.90 / €44.90 |
| be quiet! Pure Rock Pro 3 Black | $49.90 / €49.90 |
| be quiet! Pure Rock Pro 3 LX | $54.90 / €54.90 |
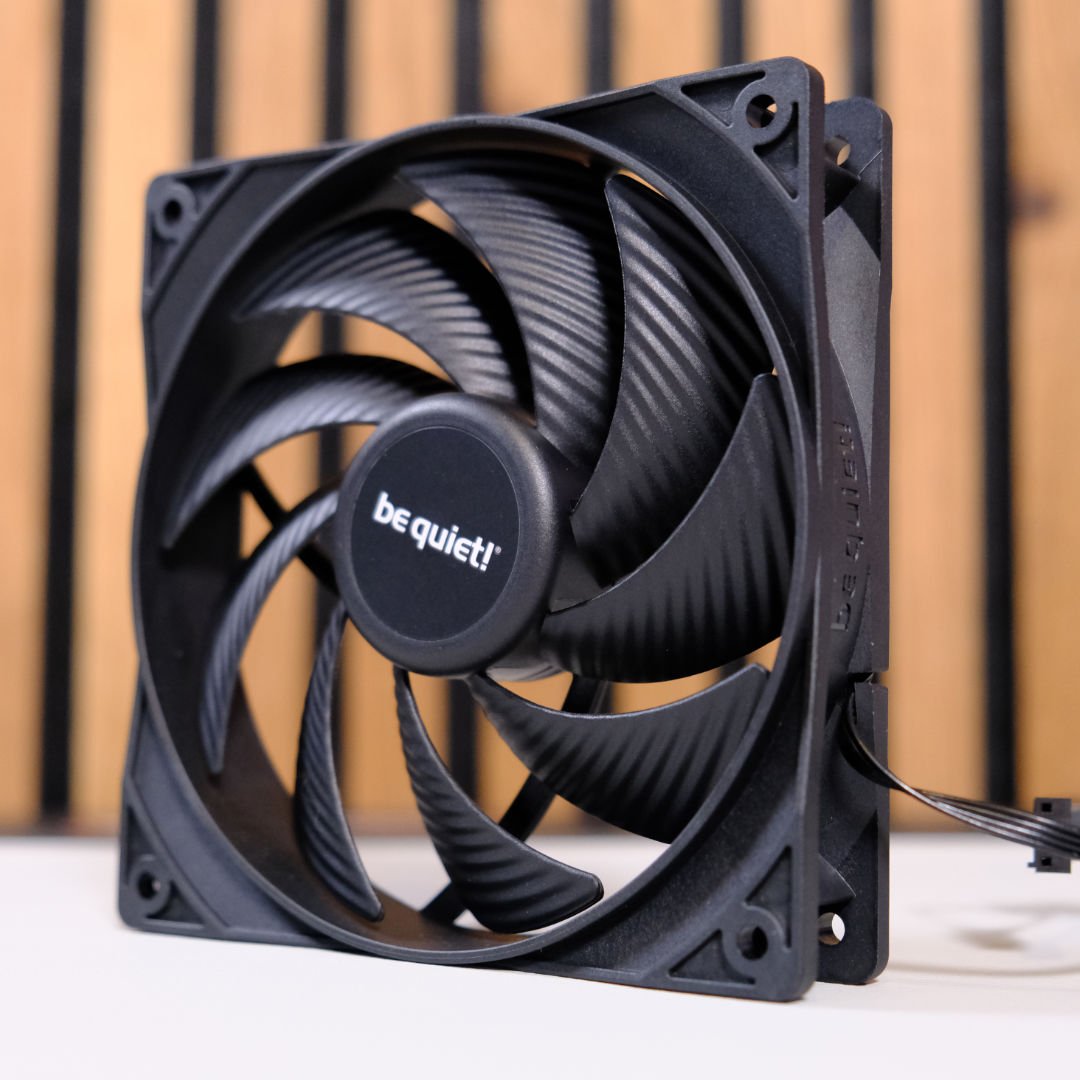
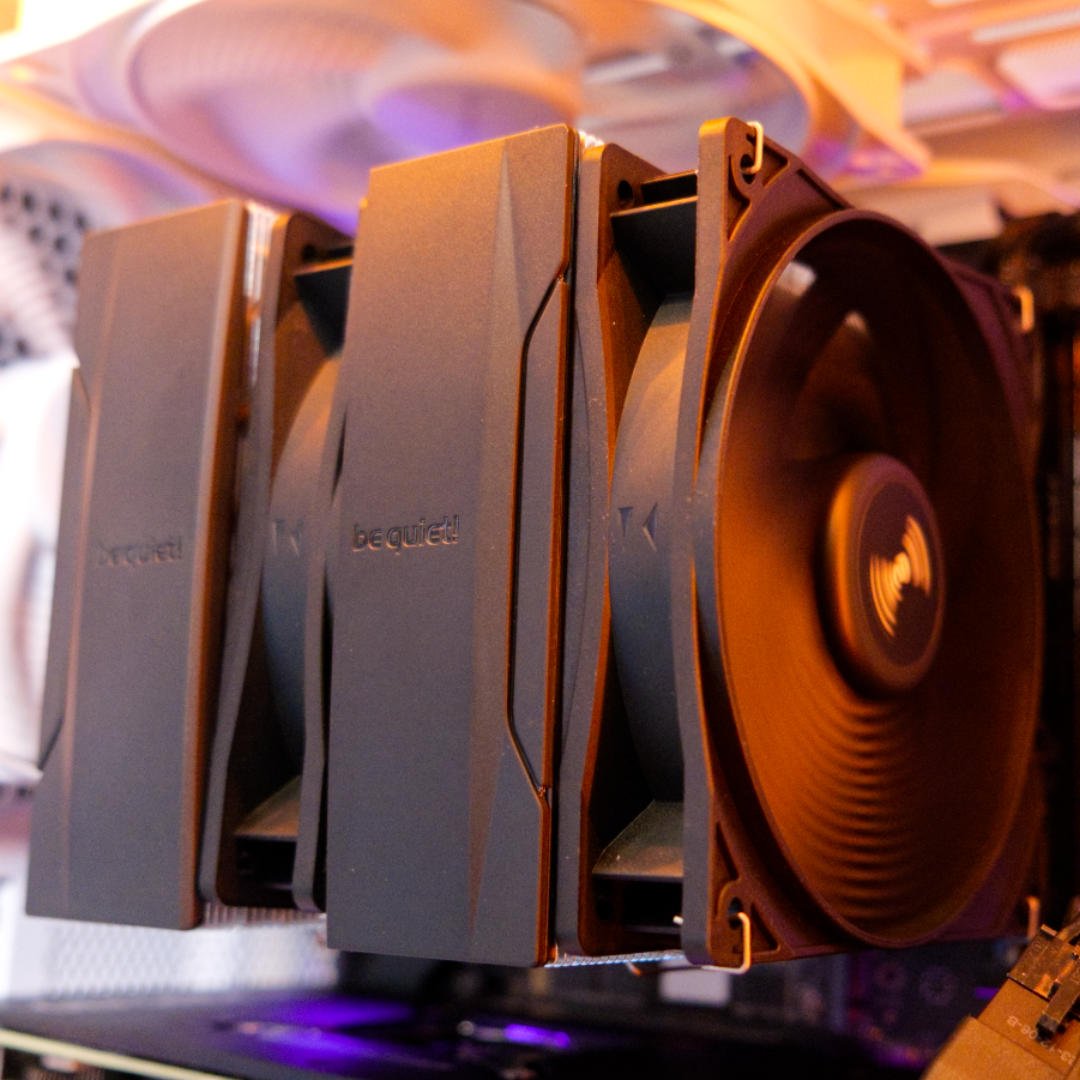
Like the Black version, Pure Rock Pro 3 Silver comes with two Pure Wings 3 120mm PWM High-Speed fans. Standalone, these generate 59.6CFM of airflow and 2.41mmH20 of air pressure when running at full pelt, which is 1,600rpm. However, the ones packaged here are optimised with a funnel shaped air outlet to work best against the tall fin stack.
Bigger isn’t always better, as Pure Rock Pro 3’s 115mm x 124mm x 152mm stature is fairly compact compared to other dual towers. Instead, be quiet! focusses on optimisations, such as an offset design to accommodate high RAM and VRM cooler compatibility.
Having used similar coolers over the past few years, be quiet! hasn’t reinvented the wheel here. It uses the same fan clips as Noctua NH-D15 G2 and is similarly mindful when offsetting CPU mounting to account for AMD Ryzen hotspots. The beauty here is that there’s no reason to fix what’s not broken, instead keeping costs low with a tried-and-tested approach.
Construction quality still feels excellent throughout, right down to its nickel-plated base pre-coated with thermal paste. It’s a neat layer, but there’s no extra paste in the bundle for subsequent installations or remounts. be quiet! confirms Pure Rock Pro 3 supports liquid metal thermal grease instead if you want to replace it at any point, but this of course is also sold separately.
Installation
Following the KISS principle, be quiet! has boiled installation down to six simple steps on a pamphlet that’ll be familiar to anyone that’s assembled an air cooler over the past decade. Processes will differ slightly depending on whether you’re opting for AMD (AM4/AM5) or Intel (LGA115X/1200/1700/1851), but it’s all just as effortless as it was back in 2020.
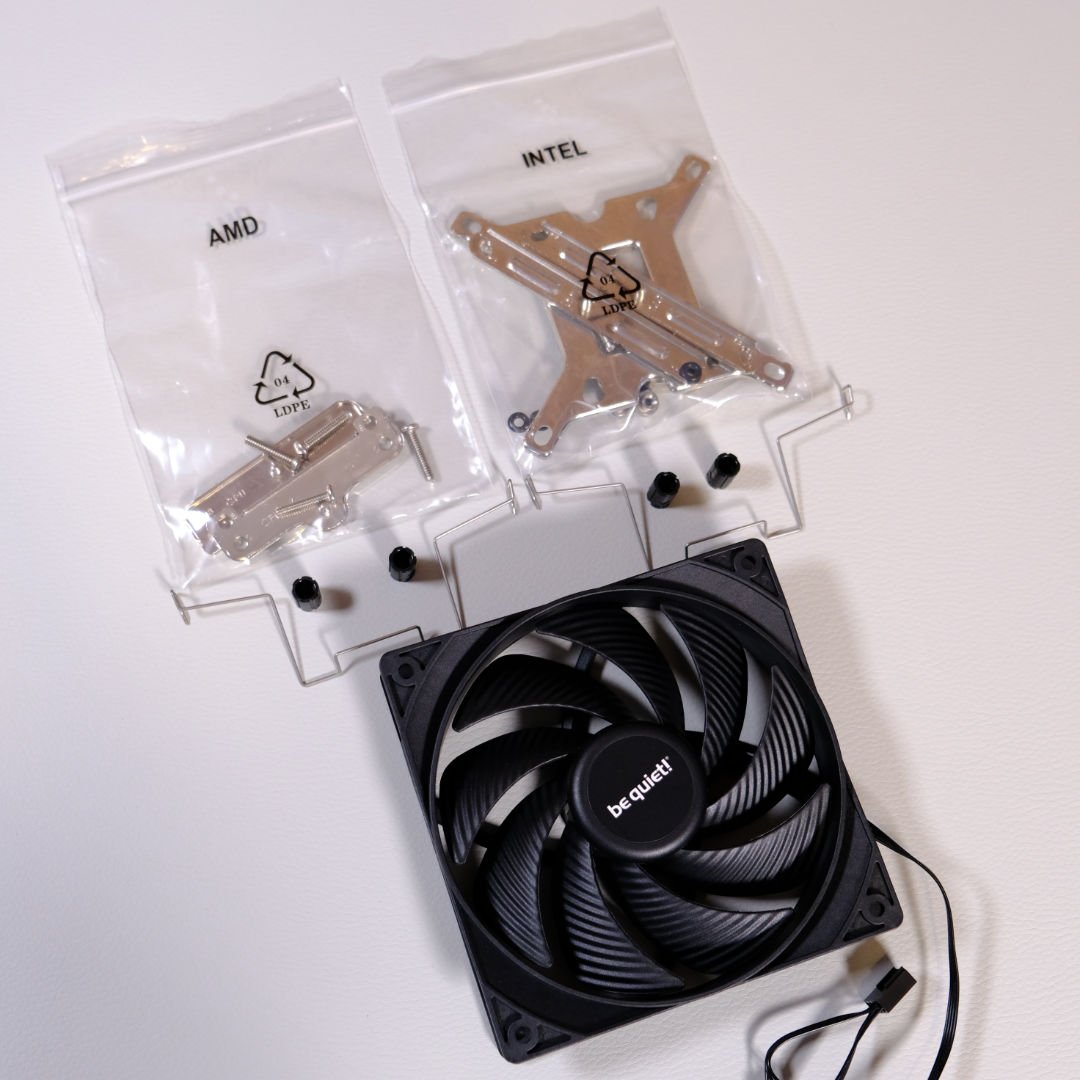
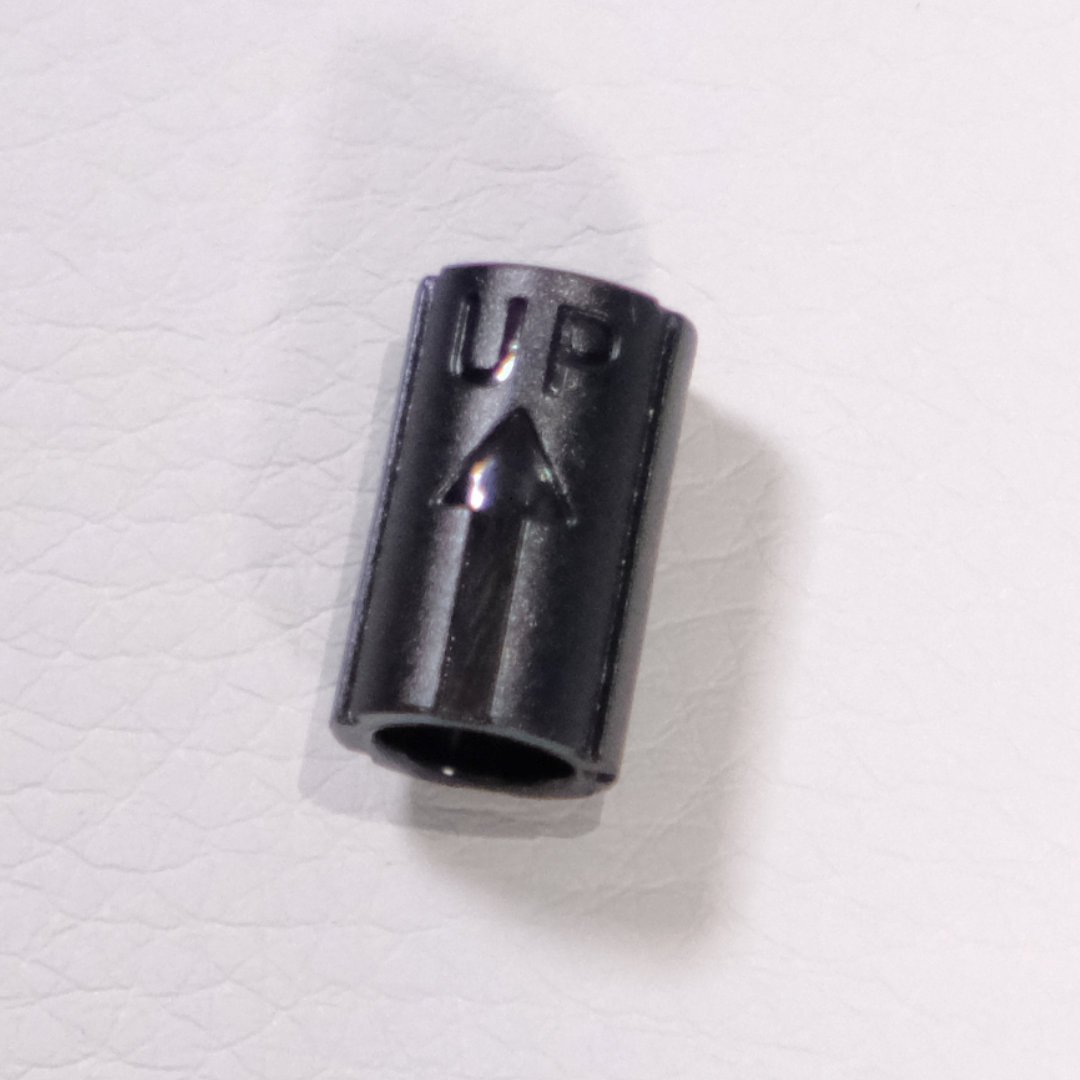
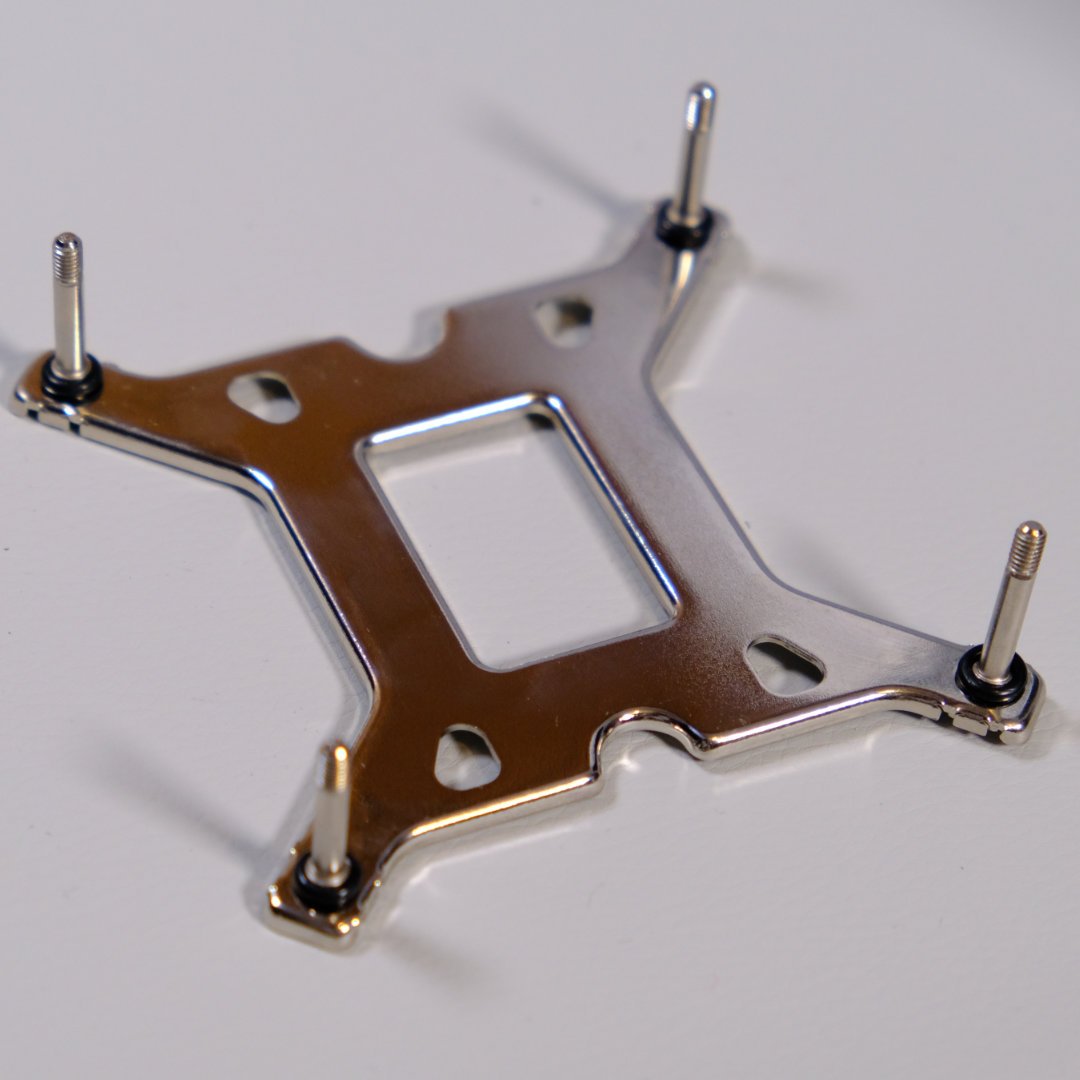
Using its tried-and-tested LGA1700 mount, the first thing you need to do is fix the metal backplate. Secure the screws in the correct holes for your socket using the included o-rings before lining them up on the rear of your motherboard. You’ll need to hold this in place while you arrange the plastic spacers, ensuring all arrows point towards you.
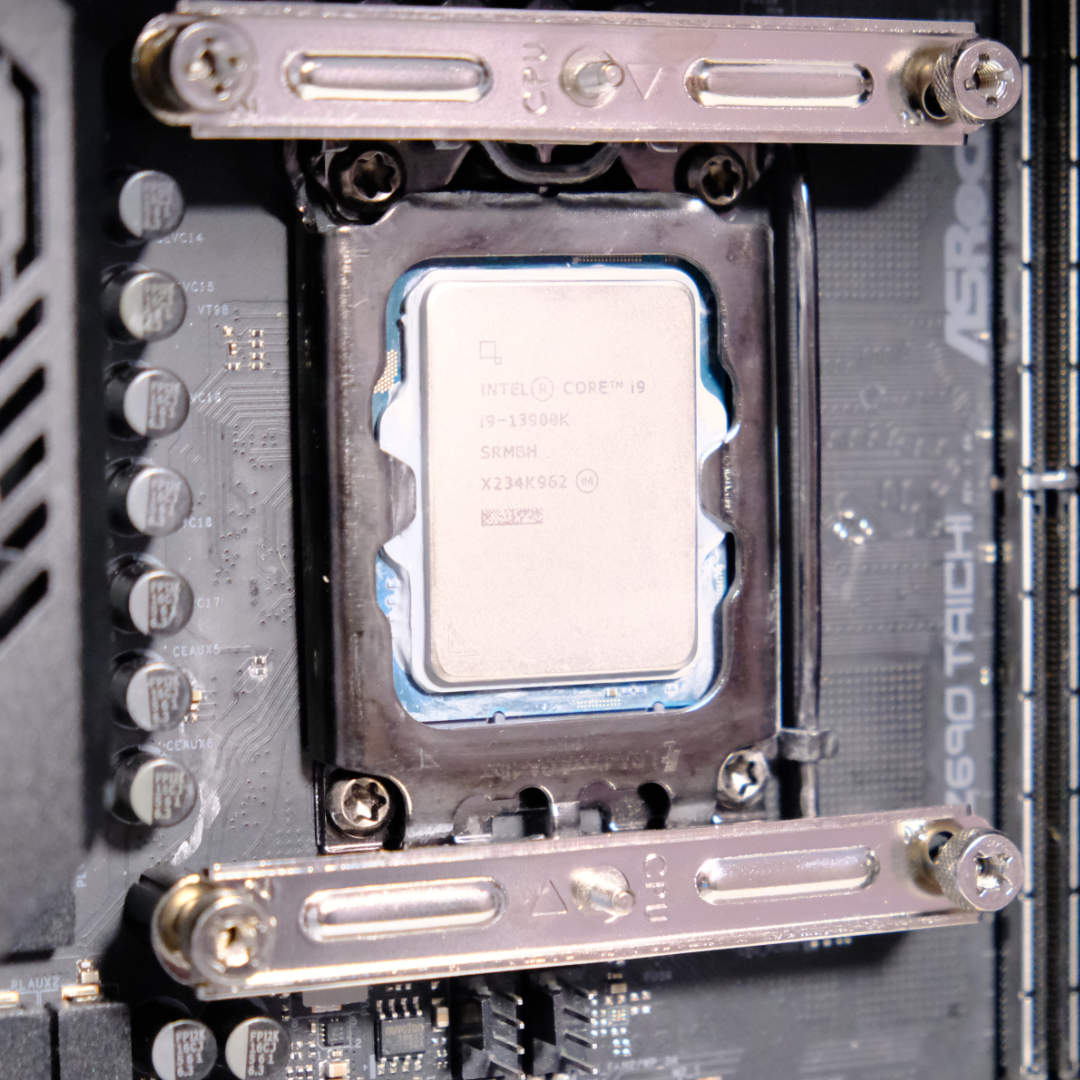
Overlay the mounting brackets, one above and the other below, before lightly fastening the metal thumb screws by hand. Check that each of the arrows on the brackets point in towards the processor, and if it looks like the photo below, further tighten the screws using a crosshead screwdriver.
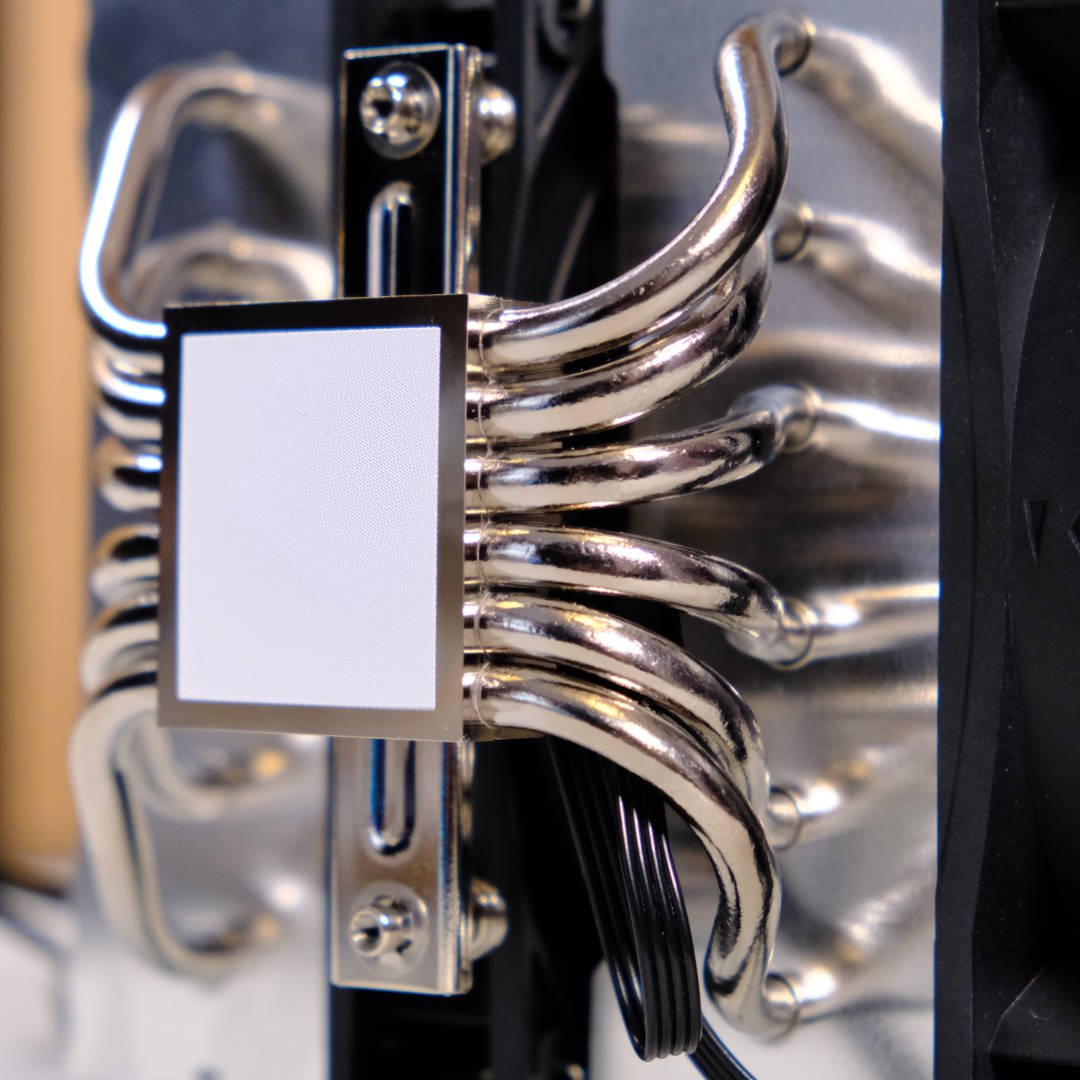

be quiet! has pre-applied thermal paste, evenly distributing the grease from end to end. That’s one less job you need to think about, letting you jump right into connecting the cooler. The mounting bridge is pre-attached to the base, you just need to remove the central fan to gain access. Do note that it’s far easier to use a longer screwdriver here before lining the two screws with the mounting bridge. Alternate as you fasten to ensure it’s secured evenly.
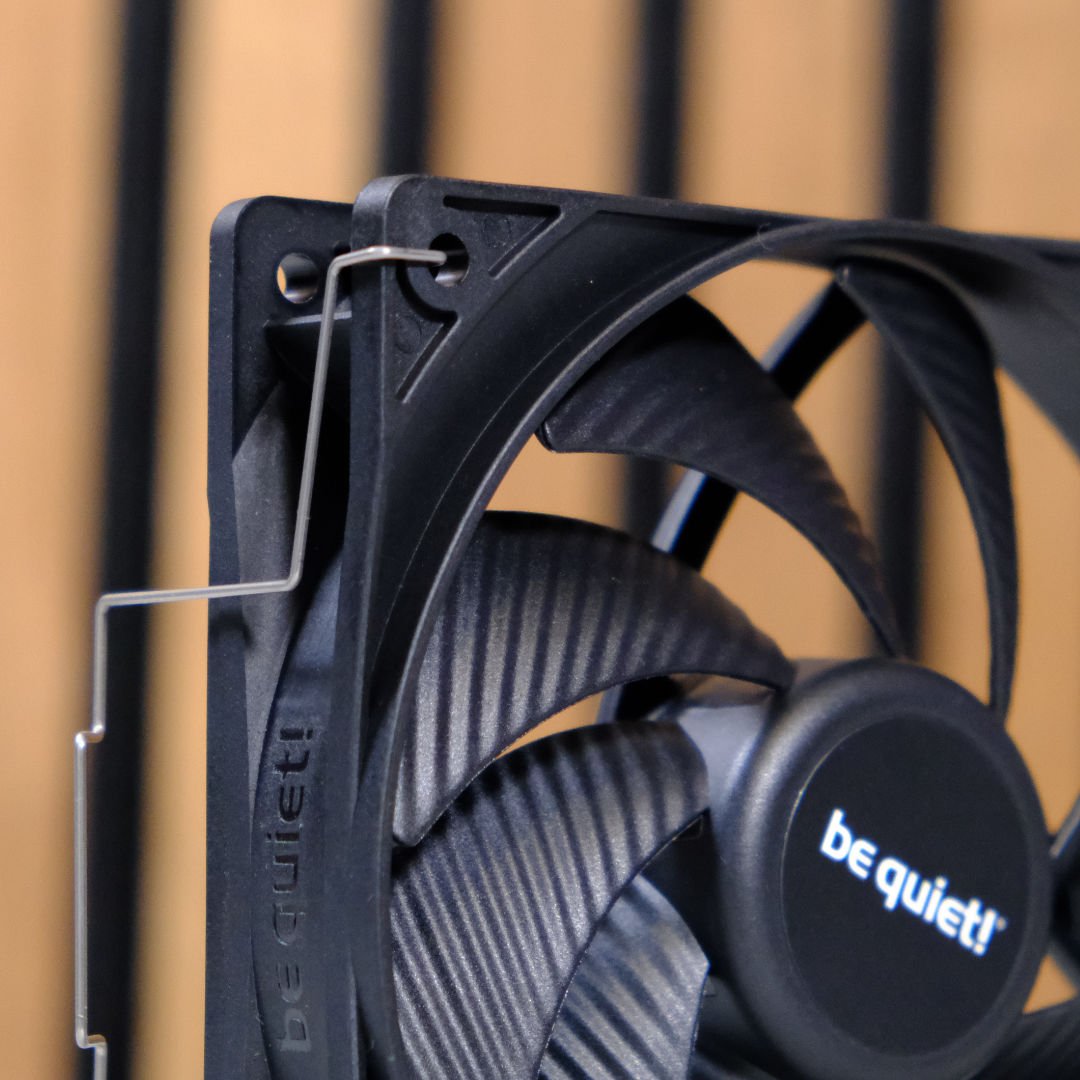
Returning the central fan back to its rightful position once the cooler is in place is a touch fiddlier than I’d like. It uses a common clip-on wire suspension, which isn’t easy to navigate in such a tight space. I’d prefer a rail system similar to Corsair A115 but wires are still preferable against the plastic clip-on method seen on Arctic Freezer 36, which breaks all too easily. If nothing else, traditional clips keep the cooler as cheap as chips (the food kind). Just wait for a click when you hook the metal wire through the fan’s mounting holes, position it in line with the exterior fan, and pull the wire over the grooved fin stack the same way you took it off.
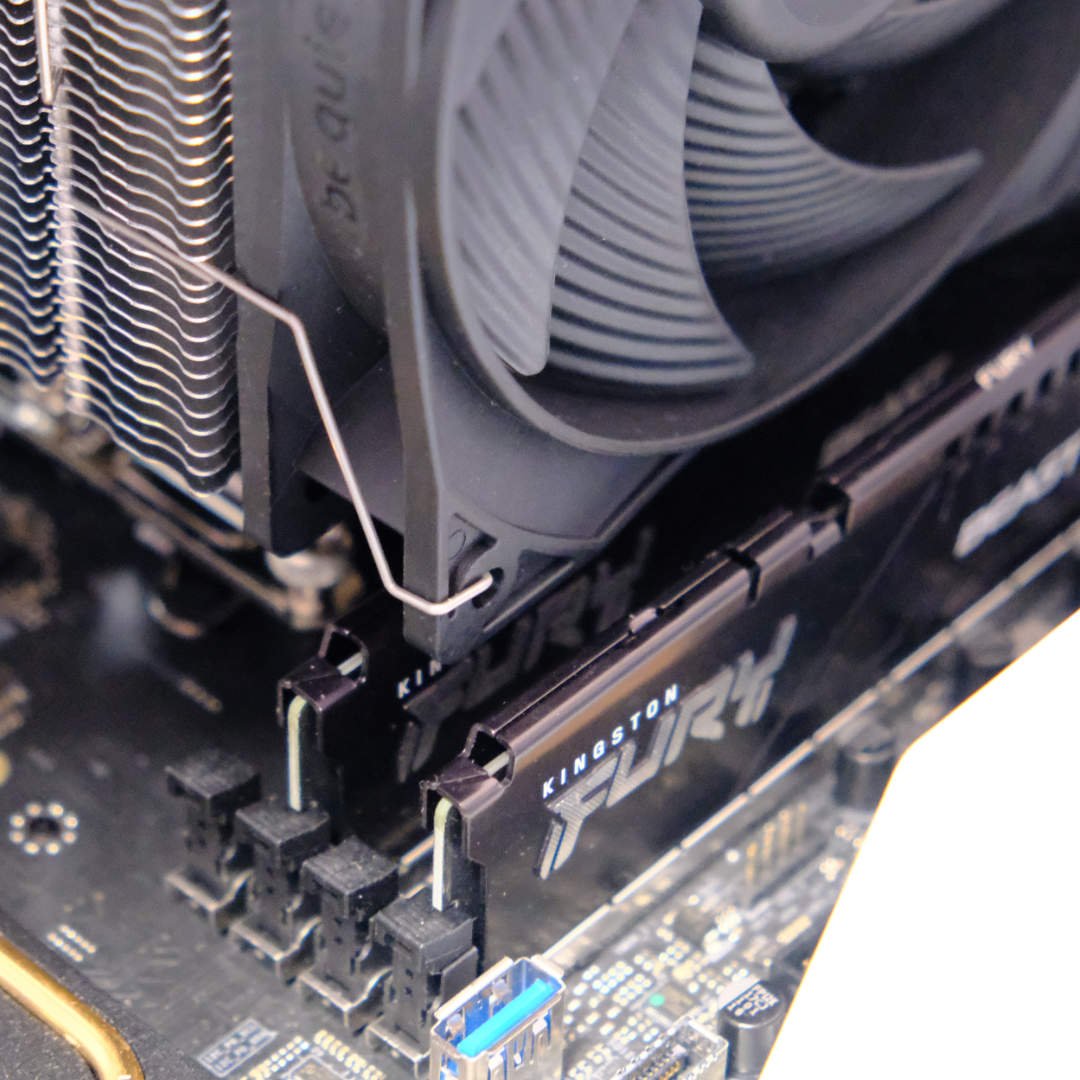
This criticism is comparatively tiny to the versatility that the mounting approach allows. You can easily swap orientation if you accidentally mount the cooler upside down or replace the fans at any point without the hassle of taking the entire cooler off. It also gives you free rein over memory clearance without worry of compatibility.
The default orientation is a little snug against our Kingston Fury Beast DDR5-6000 modules, but there’s nothing stopping you from increasing the gap to accommodate larger heatsinks. It’s as simple as raising the side-slotted fan a little higher, although you can only go so far before you’ll see a material impact on performance. After all, the aim is to cover as much of the fin stack with airflow as possible.
Unlike alternatives on the market, there’s no PWM splitter cable here, so your main concern is making sure the wires reach, and that you have two available CPU fan headers.
Performance
Now that it looks the part propped up in your system, it needs to play the part in keeping your CPU chilled. Not only are we looking to keep temperatures at bay, but it also needs to operate as quietly as possible. After all, it’s what the company’s known for.
Two generations old and Intel Core i9-13900K still proves beastly to tame with a sky-high 253W under full load. Pushing its limits in Cinebench, I recorded the noise and temperature of the chip at different voltages, altering Pure Rock Pro 3’s fan speeds to gauge the CPU cooler effectiveness.
Temperatures
| be quiet! Pure Rock Pro | Arctic Freezer 36 | be quiet! Dark Rock Elite | |
|---|---|---|---|
| 253W @ 600RPM | 93.8 | 93.1 | 94.4 |
| 253W @ 1200RPM | 94.8 | 91.0 | 93.0 |
| 253W @ Max RPM | 94.6 | 88.6 | 91.8 |
| 153W @ 600RPM | 82.7 | 80.2 | 77.6 |
| 153W @ 1200RPM | 76.9 | 76.3 | 70.8 |
| 153W @ Max RPM | 74.6 | 73.1 | 67.7 |
Given Intel advises at least a 360mm AIO for Core i9-13900K, it’s no surprise an air solution doesn’t manage to tame its eight performance cores under full load. Some hit 100°C, causing thermal throttling, which has a domino effect.
First, it sees power draw drop over 20% to 179W at 600rpm and 200W at its max 1,600rpm, resulting in lower performance. Second, it triggers our ASRock Z690 Taichi’s built-in ‘critical temperature’ limit, which ramps up fans to 100% in an attempt to get temperatures under control. All in all, part and parcel with all air coolers we’ve tested so far, falling within expectations.
Drop things down to stock 153W settings and Pure Rock Pro 3 proves it’s a sensible step up over reference coolers. It doesn’t quite hit the heights of the premium Dark Rock Elite, but nor do we expect it to. With a 61% drop in price, be quiet!’s latest budget cooler sees just a 10% increase in temps, making it a healthy option for a cost-effective build.
Noise levels
| be quiet! Pure Rock Pro | Arctic Freezer 36 | be quiet! Dark Rock Elite | |
|---|---|---|---|
| 600RPM | <30.2 | 38.5 | 30.2 |
| 1200RPM | 32.5 | 39.4 | 33.7 |
| Max RPM | 40.6 | 41.1 | 41.8 |
Combine Pure Rock Pro 3’s temps with consistently quieter operation, and it’s a strong candidate for the best budget CPU cooler we’ve tested. At 600RPM it’s practically inaudible in most environments, but even at 1,200RPM it remains stealthy in operation.
This isn’t to take away from Dark Rock Elite’s impressively silent showing at its max 2,000RPM, as that’s 25% faster than our budget alternative here. Still, it’s all diminishing returns when be quiet! sets the bar so high at such an affordable price. This is a testament to just how far fans have come over the years, as Pure Wings 3 go toe-to-toe with the original Silent Wings, which were once the pinnacle of be quiet!’s line-up.
Conclusion
Scythe and ID Cooling built their names on budget dual towers, and be quiet! has taken up the mantle as go-to provider in the low-cost space. Pure Rock Pro 3 gives a satisfying first impression and is a welcome addition to the market, bringing the quality and performance the brand is known for to a more affordable price point.
There are concessions – the bundle in particular is sparse with no spare thermal paste and no Y splitter – yet for $44.90 Pure Rock Pro 3 delivers a combination of cooling performance and low noise that few others can match. There’s no white model as yet, but it’s good to see three available variants include an RGB version if you want something a bit flashier. All in all, this is a cooler for those looking for value in every penny they spend.